One trip to my Pinterest boards, and you’d notice that I’ve been pinning a lot of chalk-related things lately. Earlier this summer, I searched far and wide for inspiration for some chalk projects my mom had enlisted my help in. She had bought a huge framed chalkboard where she wanted the menu for my brother’s rehearsal dinner to be written. I gladly offered to write it out for her, but soon I realized that it was a much trickier project than I had realized.
|
Chalk isn’t the most easy writing tool. It’s clunky and there isn’t really a ‘point’ on a piece of chalk. I like to think that I have pretty good handwriting, but when I started writing things with chalk it looked like a kindergartner had done it. This wouldn’t do, not for this special party that my family had worked so hard to plan. This menu had to look stellar, I wouldn’t settle for less. So, I recollected my thoughts and started doing some research on Pinterest. I ended up finding this tutorial, DIY Perfect Chalkboard Lettering, and thought it was too easy to be true.
|
STEP 1
|
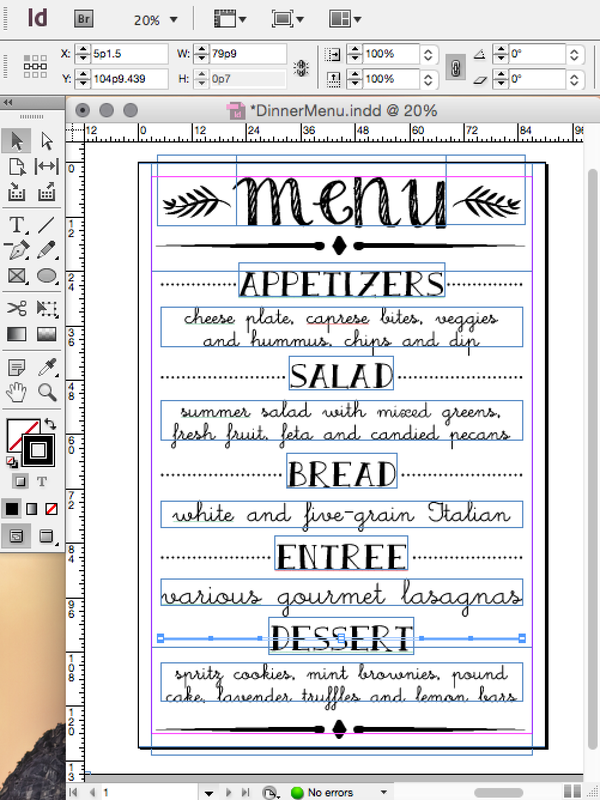
Design the artwork. This was a fun step for me, because I use a graphic design program called Adobe InDesign for almost everything (including all of the graphics you see on this blog!). I had to design the menu with InDesign first so that I could get the proper spacing for the large board I would be tracing on. If you don’t have a fancy program, Word or Pages works just fine! The important part is to find fonts that are chalk-like, so that your result will look natural. I linked the free fonts I used below! And check out my Graphic Design board below for plenty of pins about chalk fonts. If you’re still nervous about this step, comment below and I’d be happy to help!
|
STEP 2
|
Print your design. If the dimensions of your board are larger than a standard piece of printer paper (8½ x 11in), then you may have to print your artwork in pieces like I did. InDesign is great, because you can change the dimensions before you design so you can assure your artwork will be proportional. Once I had my artwork done, I exported it to a .png file. Then, I made a blank file with the dimensions that would be print-ready. I pasted the artwork .png and cropped it to fit, doing this four times until I had all the pieces of my artwork covered. Then, I printed the four sheets and pieced them together with tape until I had one sheet of paper to work with.
|
STEP 3
Gather Materials. Usually this is the first step, but it works better here. For this project, you’ll need your printed artwork, a chalkboard, 2-3 pieces of chalk (depending on the size of your artwork), a ballpoint pen, tape, a chalkboard pen, a wet paper towel (for mistakes), and a dry paper towel. You'll also want to find a comfy seat because this project can take some time!
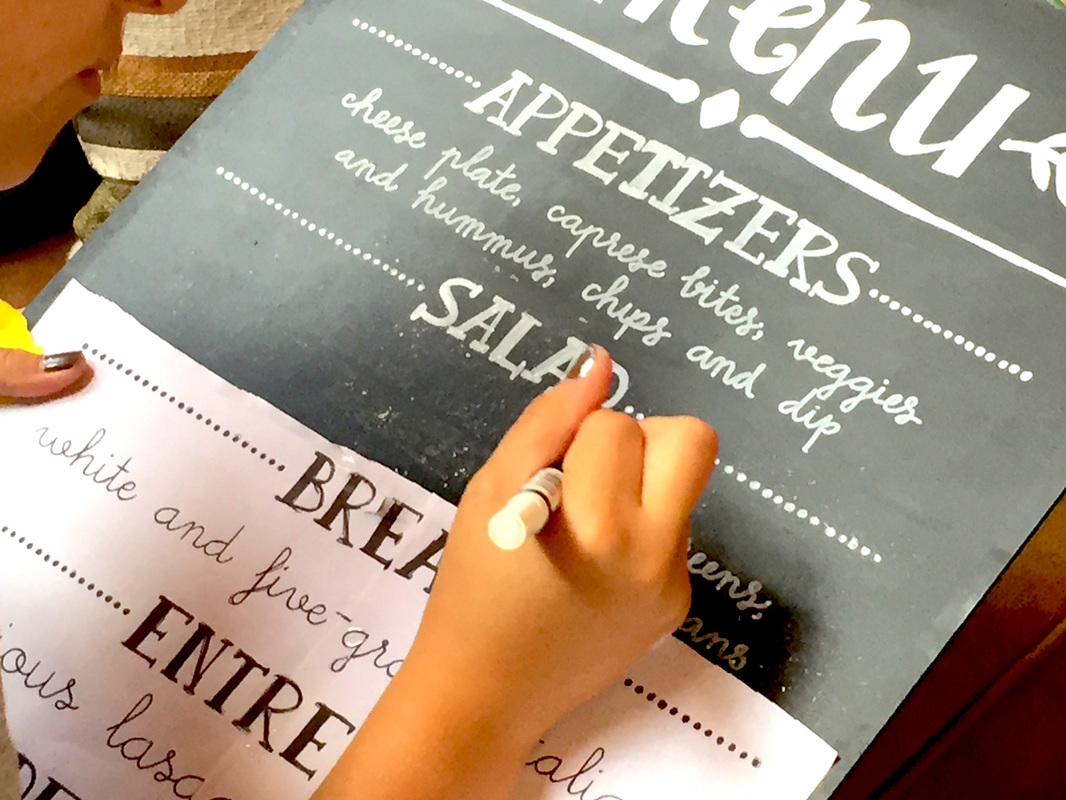
STEP 4
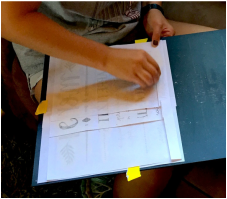
Cover with chalk. I did this one line at a time, mostly because my artwork was pretty big. Tape your artwork in place on your board. Once you start, you don’t want the artwork to move or else it may end up looking funky when you’re done, so this part is important! Fold the top section of your artwork down and cover the back of the artwork with chalk by rubbing it flat on the paper.
|
STEP 5
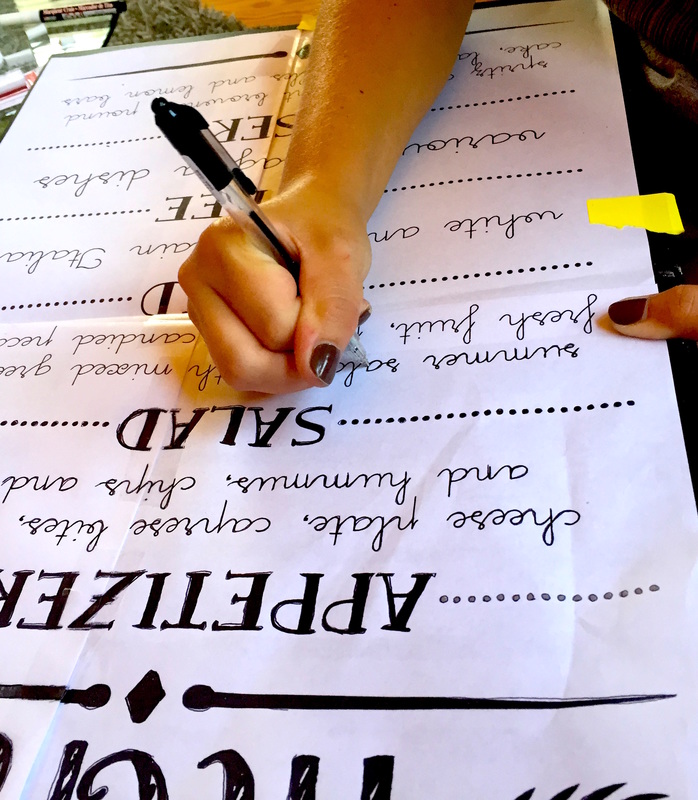
Trace your artwork. With the ballpoint pen, trace over the artwork carefully. Be sure to do all of the details, and take your time with this step. The slower the better! Once you are done tracing, fold the paper back down and you should see a perfect outline of your artwork on your chalkboard!
|
STEP 6
Go over outline. Now, take the chalk pen and go over the outline you just traced. I did this from right to left, so that my hand wouldn’t erase the outline as I was drawing. Be careful on this step too! Most chalk pens take a minute to dry and may smear if you rub your hand on it. That’s what the wet paper towel is for, too. You can carefully erase smudges or mistakes made with the chalk pen.
|
STEP 7
Repeat. Continue steps 4-6 until you have transferred your entire artwork on to the chalkboard. If your artwork isn’t in line-format like mine was, you may find it easier to just cover the entire back of the paper in chalk before taping it down, and doing it all in one shot. This may take a while depending on how big your artwork is. Mine took about 2 hours from start to finish. My hand felt like it was ready to fall off! Once the chalk pen is completely dry, take the dry paper towel and wipe the extra chalk dust away.
STEP 8
Display. The best part is seeing your work completed! My mom was thrilled with how beautiful the final product was (and so was I)! Hang your chalkboard and display it proudly. And be prepared to answer the question “Wow! Who did that?!”
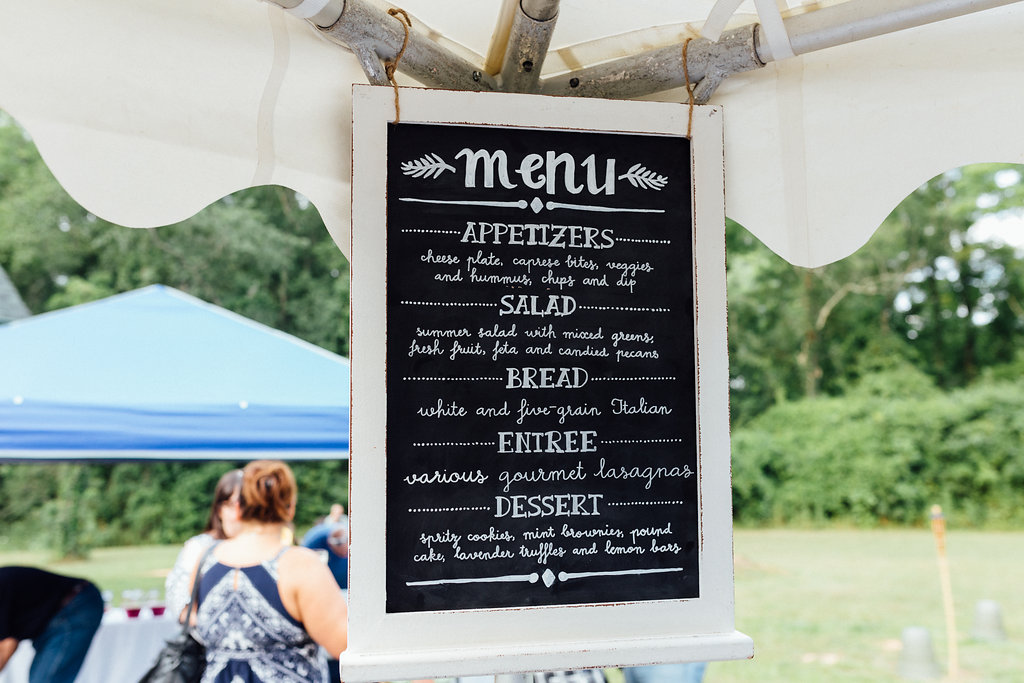
Photo by Leah Flores Designs
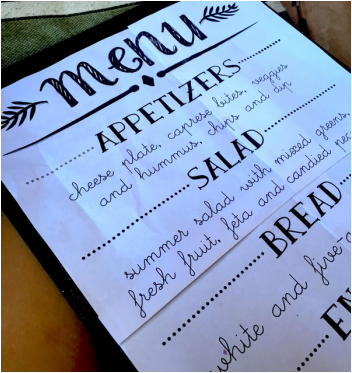
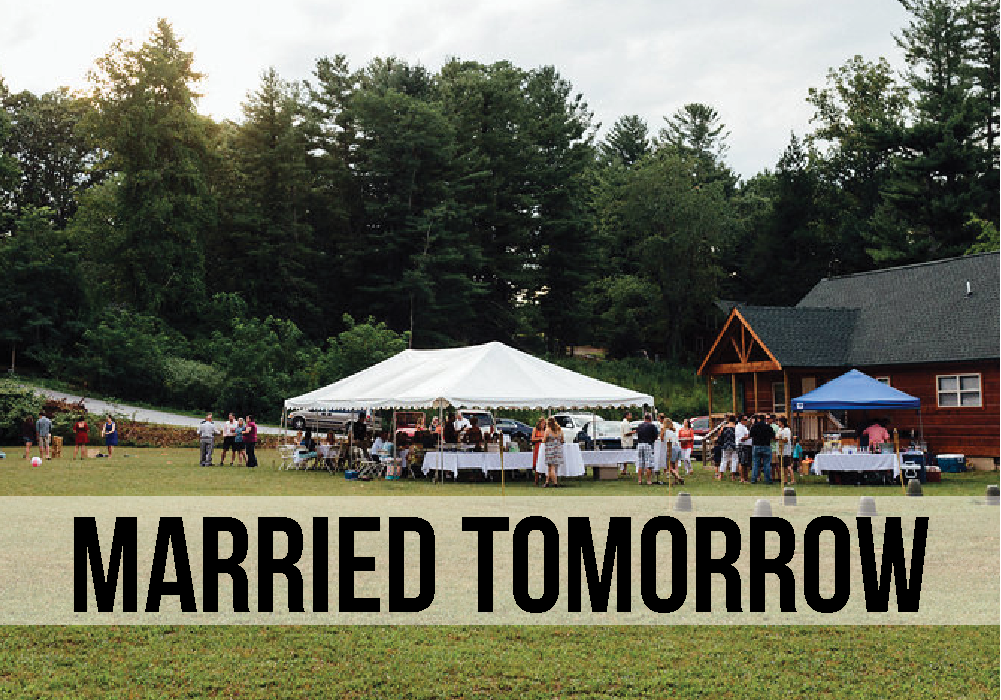
The menu I made was hung under the tent where the food was being served. I only wish I had gotten a picture of the menu with the gorgeous spread my mom planned! The menu was almost as gorgeous as the food was. And, this was a great step for me in making progress with my 101 in 1001 goal to learn how to do hand typography! I don't totally count this because I traced it, but any practice is good practice.

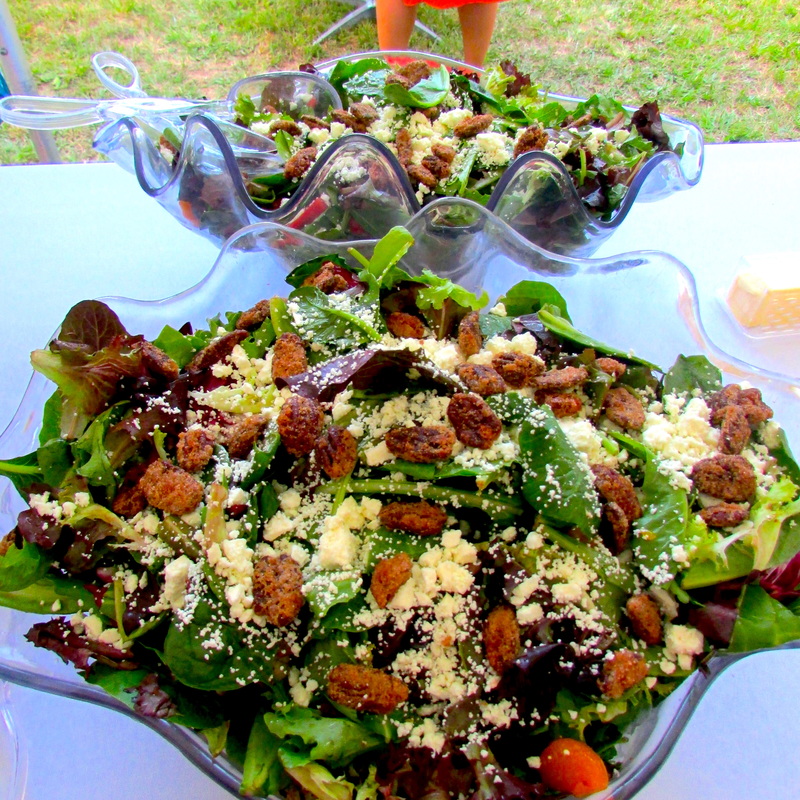
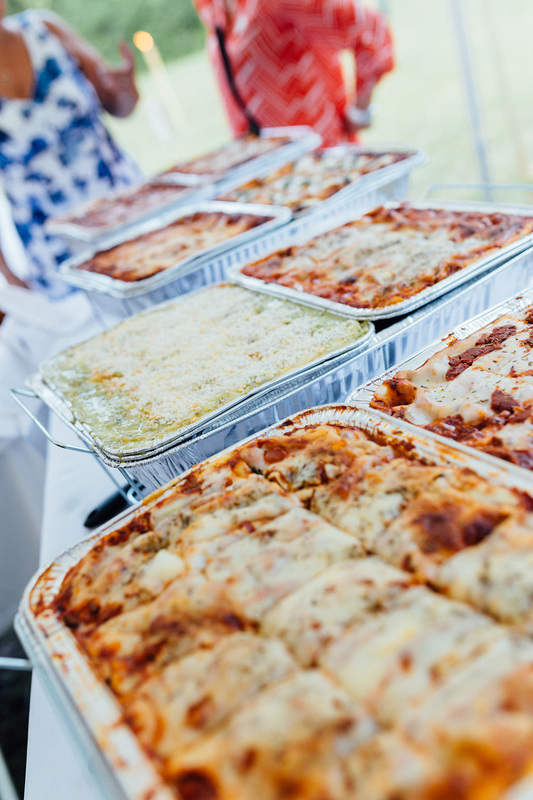

Above is a gallery with some photos of the dishes from the night. Also, be sure to check out some of the posts linked below for more photos from that very memorable weekend!

RELATED POSTS
|

|

|


 RSS Feed
